Welcome to what will eventually be a complete comprehensive guide into how I make new worlds for use in the games that I play and create. World building can seem daunting at first, but hopefully this guide will encourage others that it isn’t as monumental a task as it seems and is actually a really enjoyable way to spend an afternoon.
The very first step in world building is fairly obvious – we need a world to build upon. There are various different ways to create maps for your world, including some incredible free websites that can do amazing things (I highly recommend Azgaar’s Fantasy Map Generator), but this time I’m going to go back to basics and using pieces of paper and whatever I could find in my cupboards.
The basic premise of the idea is to create a stain on the paper in an interesting and organic shape, which you can then use as inspiration for your world. Some people use food colouring, others use fruit juice and I decided to use strong black coffee.

Placing the paper down on the countertop, my faithful assistant (my mum) and I splattered, dripped and smeared the coffee in whatever way we felt like. There’s no right or wrong here, and it’s supposed to be messy, so get stuck in and make sure you have spare bits of paper handy for if the first attempts get a bit too wet and fall apart.

We tried a few varied methods for getting the best map, mixing together different ingredients to get the best consistency and pressing the pages against each other, but how you achieve your coffee stains is completely up to you. We found that coffee was a little thin, so adding something slightly thicker to the mixture or placing the instant coffee on the paper itself before adding any liquid were a couple of methods we found to get stronger and more successful pictures.
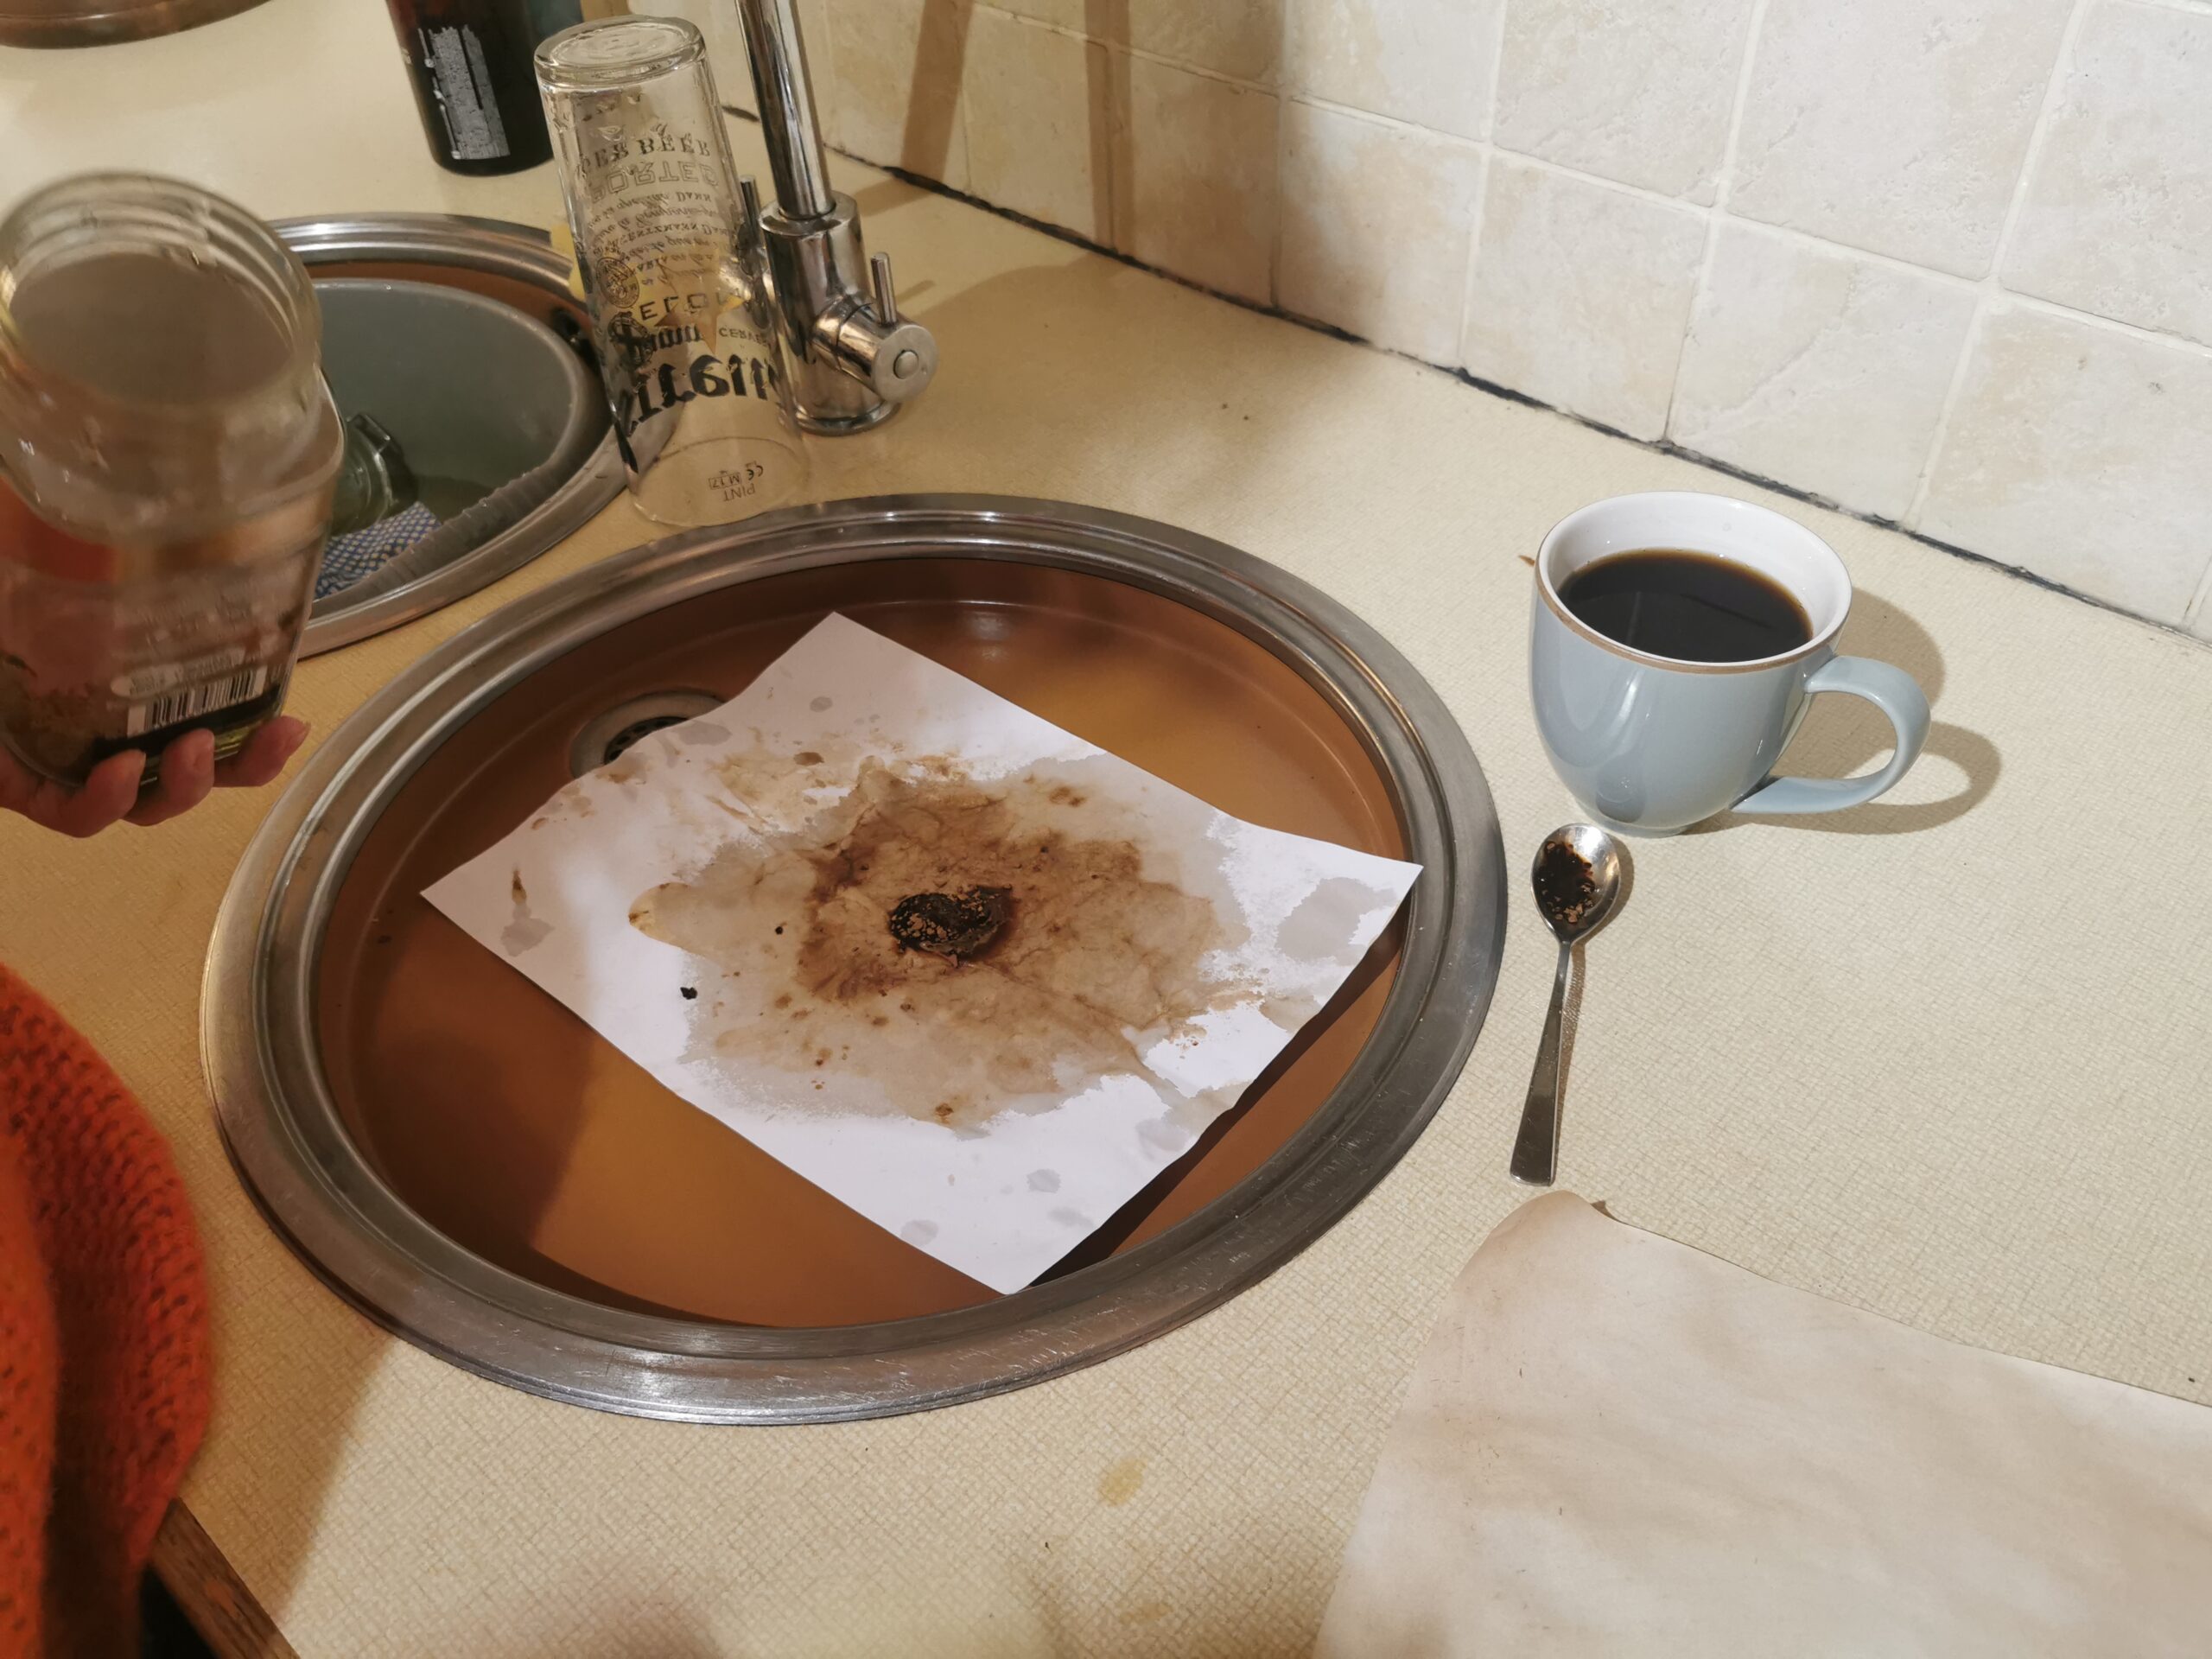
When you’re happy with your prints, leave them to dry somewhere warm. If you’ve used mostly coffee, as I have, then they shouldn’t take more than around twenty minutes to fully dry. When they turn crispy and no longer feel like they’re going to fall apart, your map sheets are done and ready for the next step!

Now that you’re got the basic shapes, it’s time to put the whole thing together. For this part, I took pictures of each individual page and imported them into a photo editor. Any editor should do the trick, but I can recommend Photopea as the software I use on a daily basis. It’s completely free and online, with plenty of helpful tutorials and useful tools. Using Photopea, I crudely cut out each of the shapes.
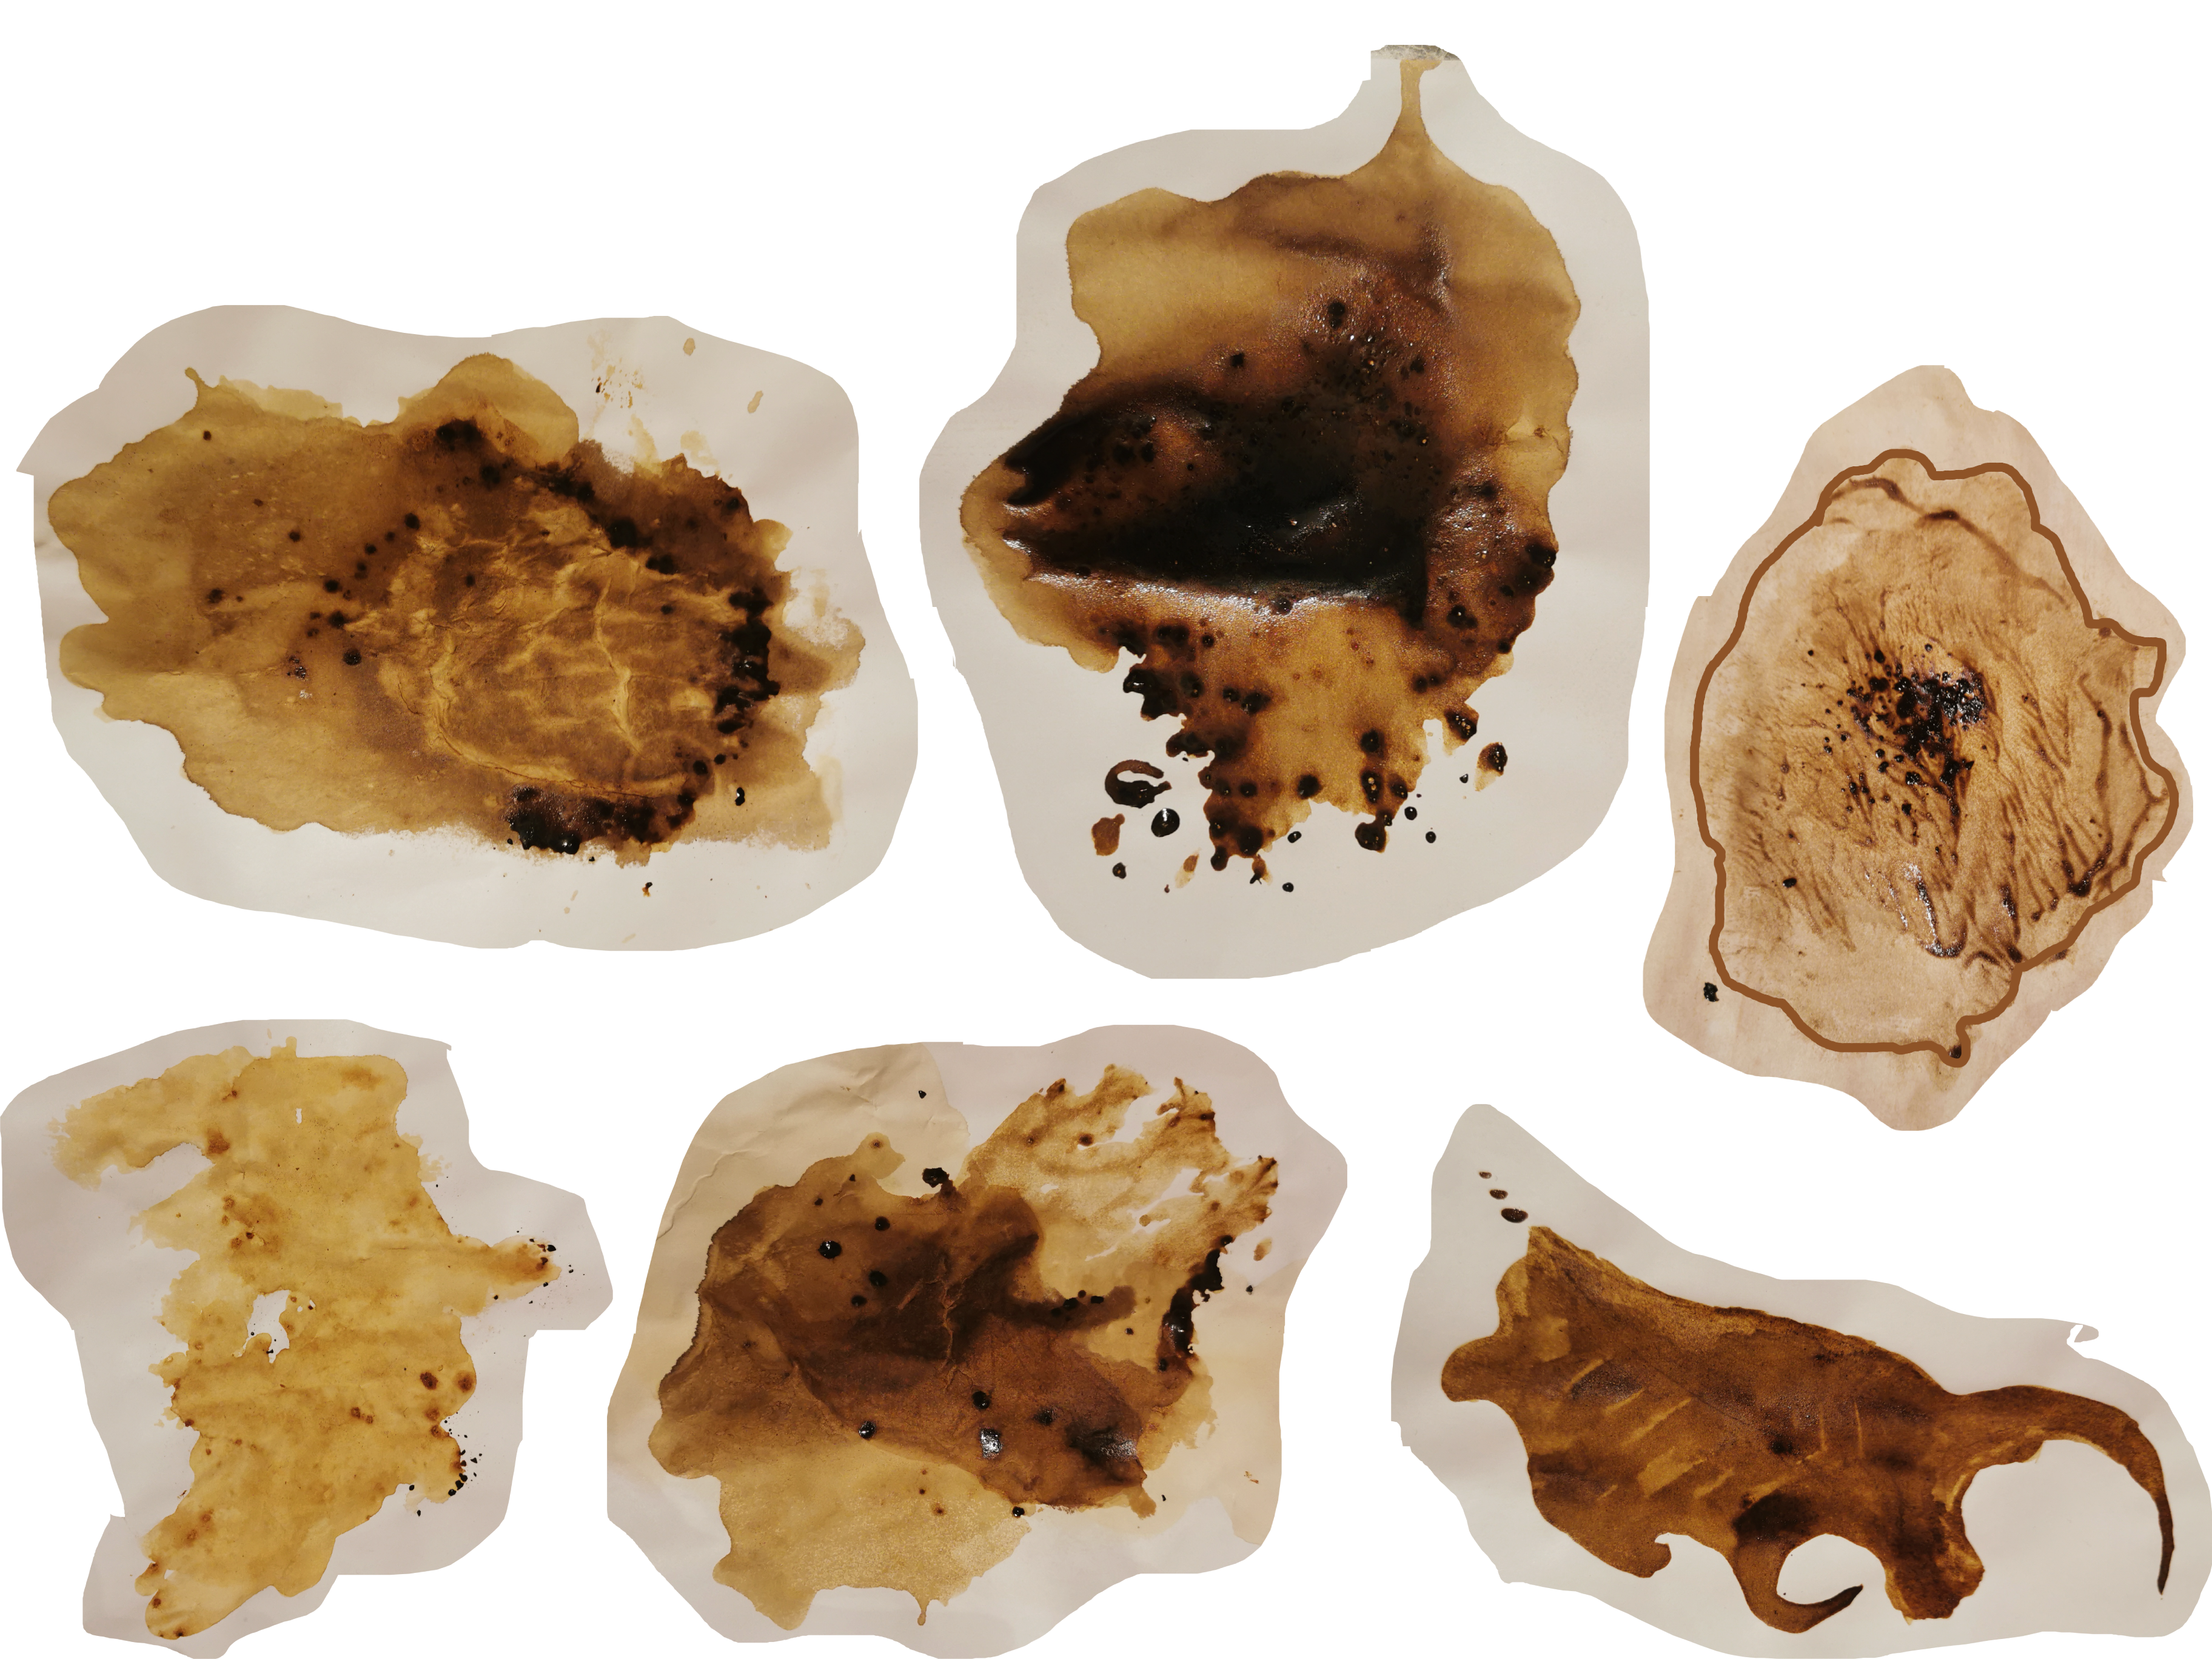
Now comes the fun part – assembling your strange coffee shapes into something that resembles a world. This can take a lot of trial and error to get something that you’re happy with, but there are no wrong answers. Try experimenting with resizing some of the shapes to make them much bigger or smaller, and rotating everything to see it from another angle. Eventually, given some time and patience, your world will begin to take shape before your very eyes.

The final stage is to take your majestic world and outline all of the shapes with a nice black line. Don’t worry about this point if you’re like me and you lack any kind of artistic talent, that’s actually a bonus in this case. Having a shaky hand and making mistakes when you’re drawing these outlines isn’t a mistake at all. Straight lines and perfect curves will look unnatural and strange, so its actually worth looking for the areas which seem too neat and messing them up on purpose. Now’s also the time for any little tweaks that you want to make, making any feature a slightly different shape or adding in a few more hidden coves to your coastlines – this world is undeniably yours, and you should feel free to shape it however feels right to you. When you have an outline that you’re happy with, get rid off the coffee stains and gaze upon your new basic world!
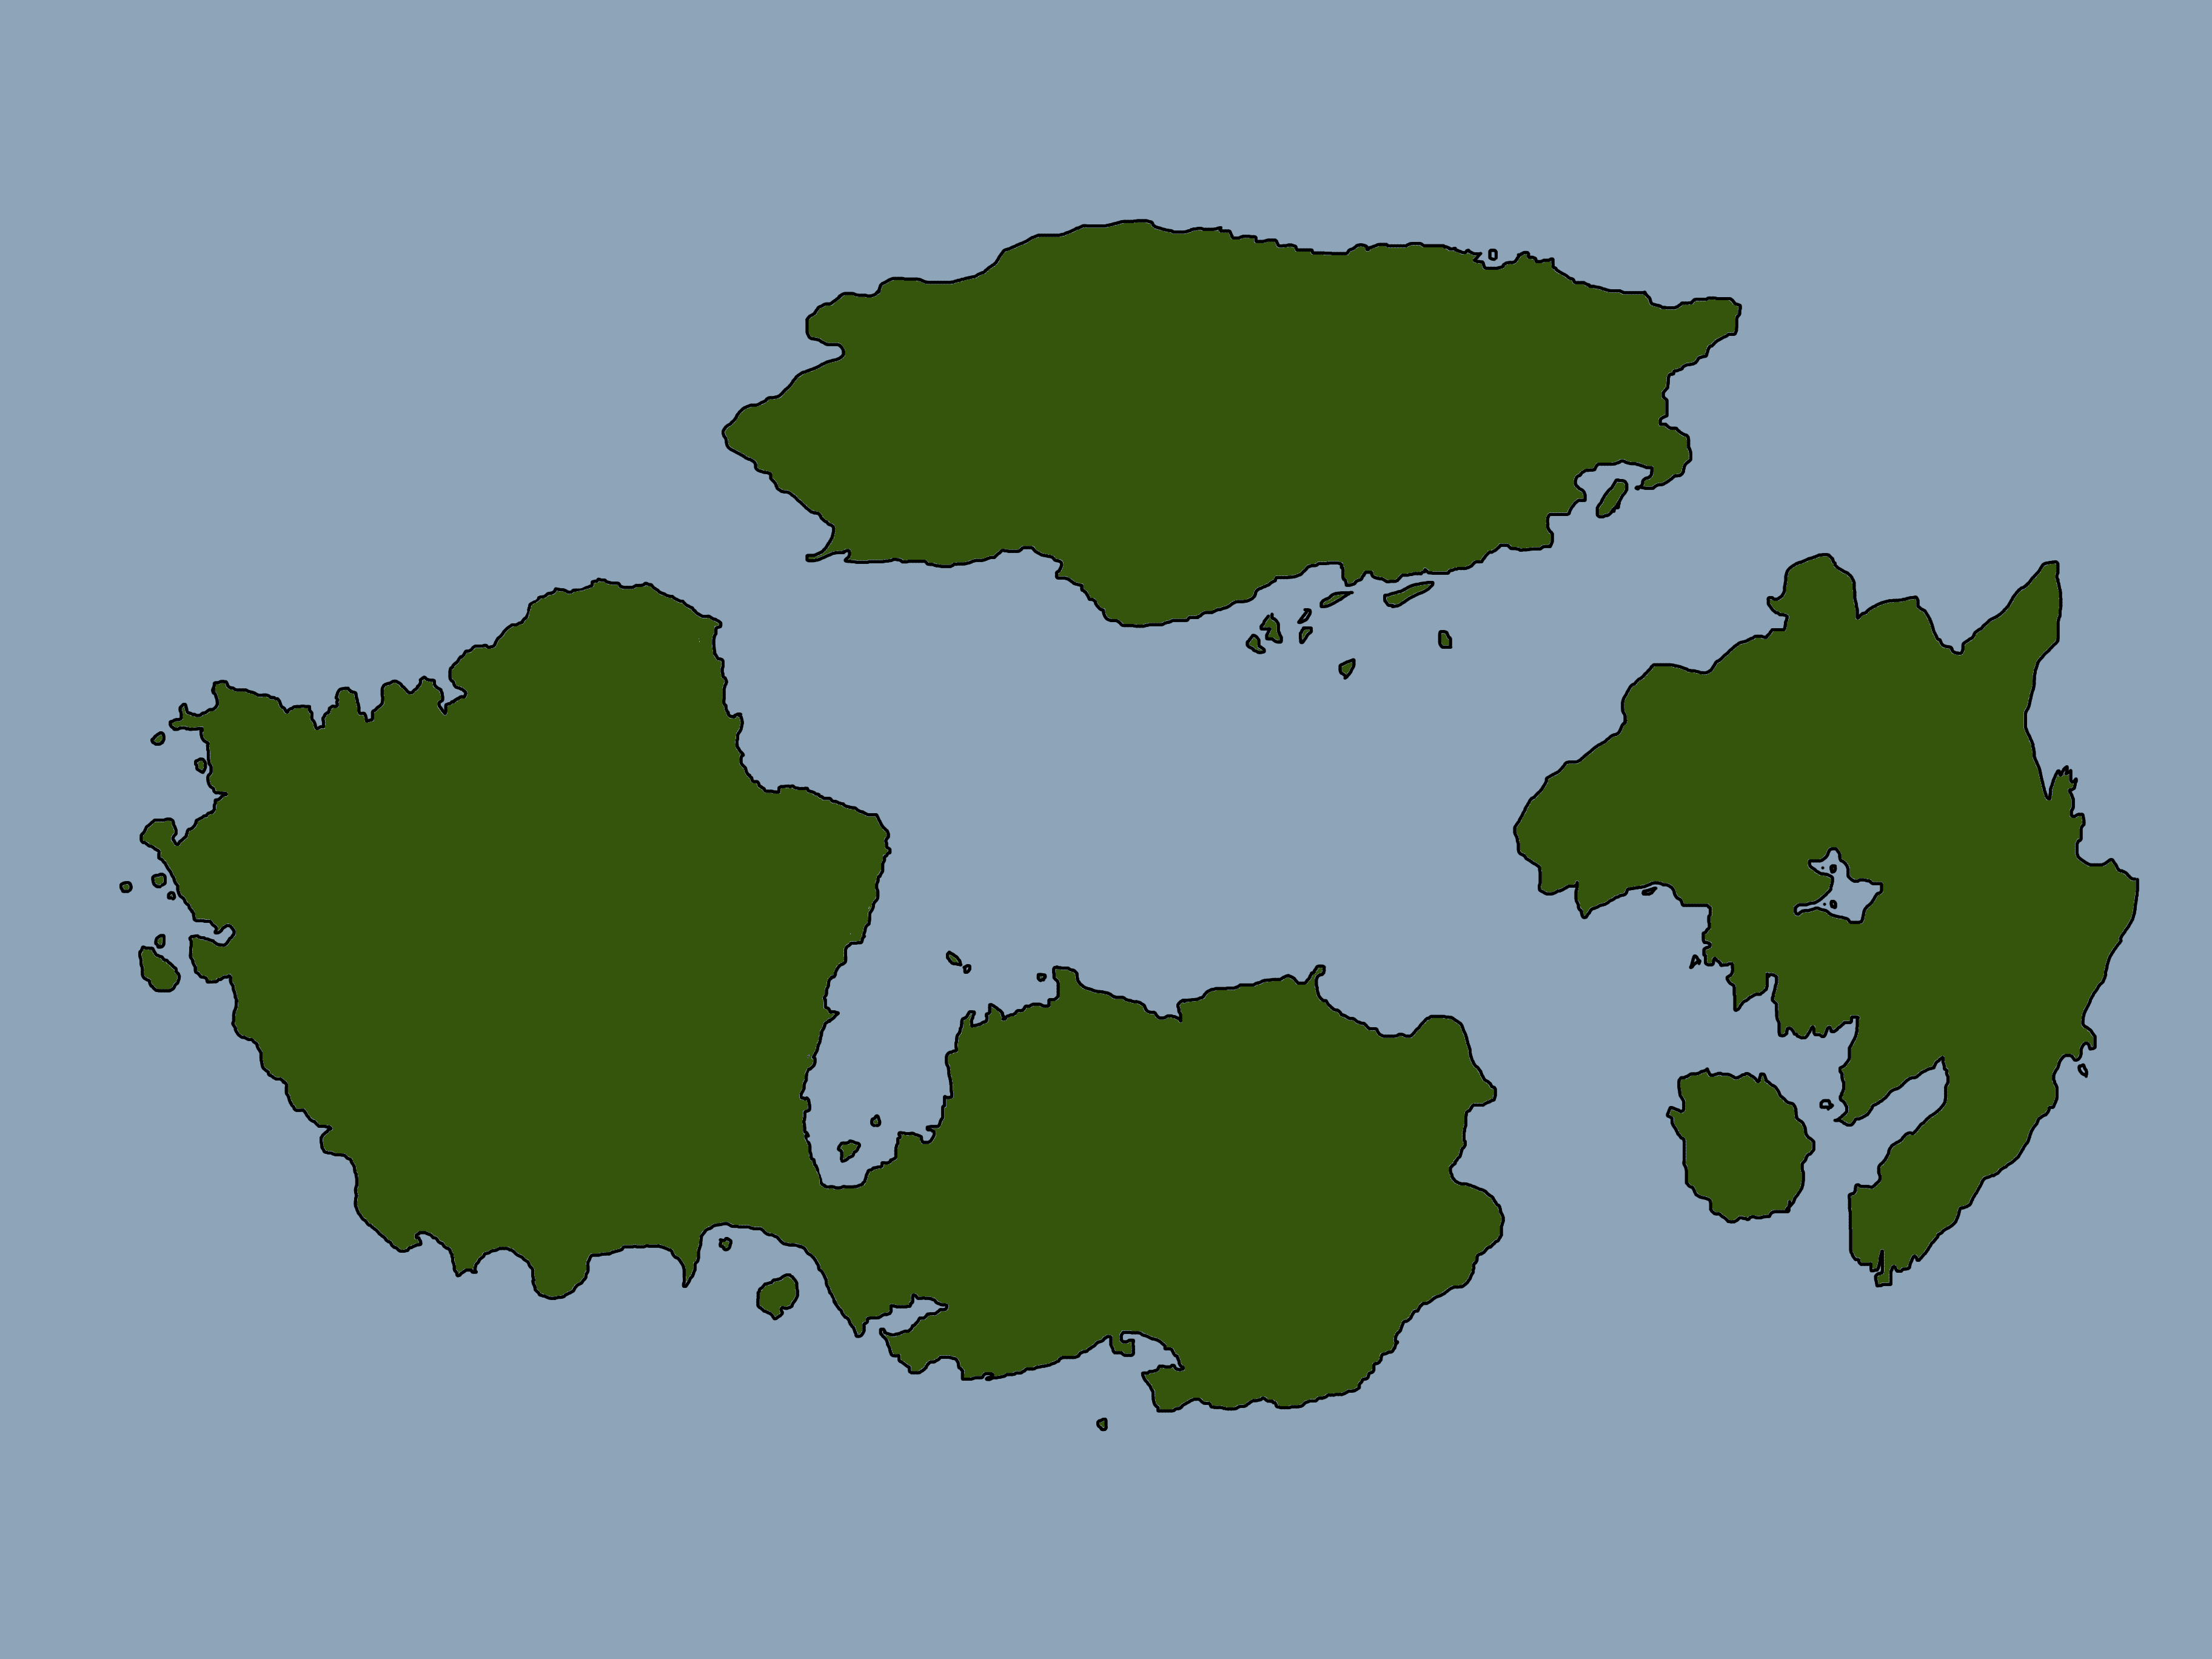
Congratulations! You’ve taken the first step to making a new world, filled with possibilities and adventure. Obviously at the moment you only have land and sea, but they will serve as the perfect templates for us to add the details which will truly bring the map to life.
Next time, we’ll look at adding some geographical features to the map and giving some climate to the different areas. As soon as that’s done we can start to think about how it might be populated, which is where the levels of detail know no limits! I will see you then, and happy mapping.