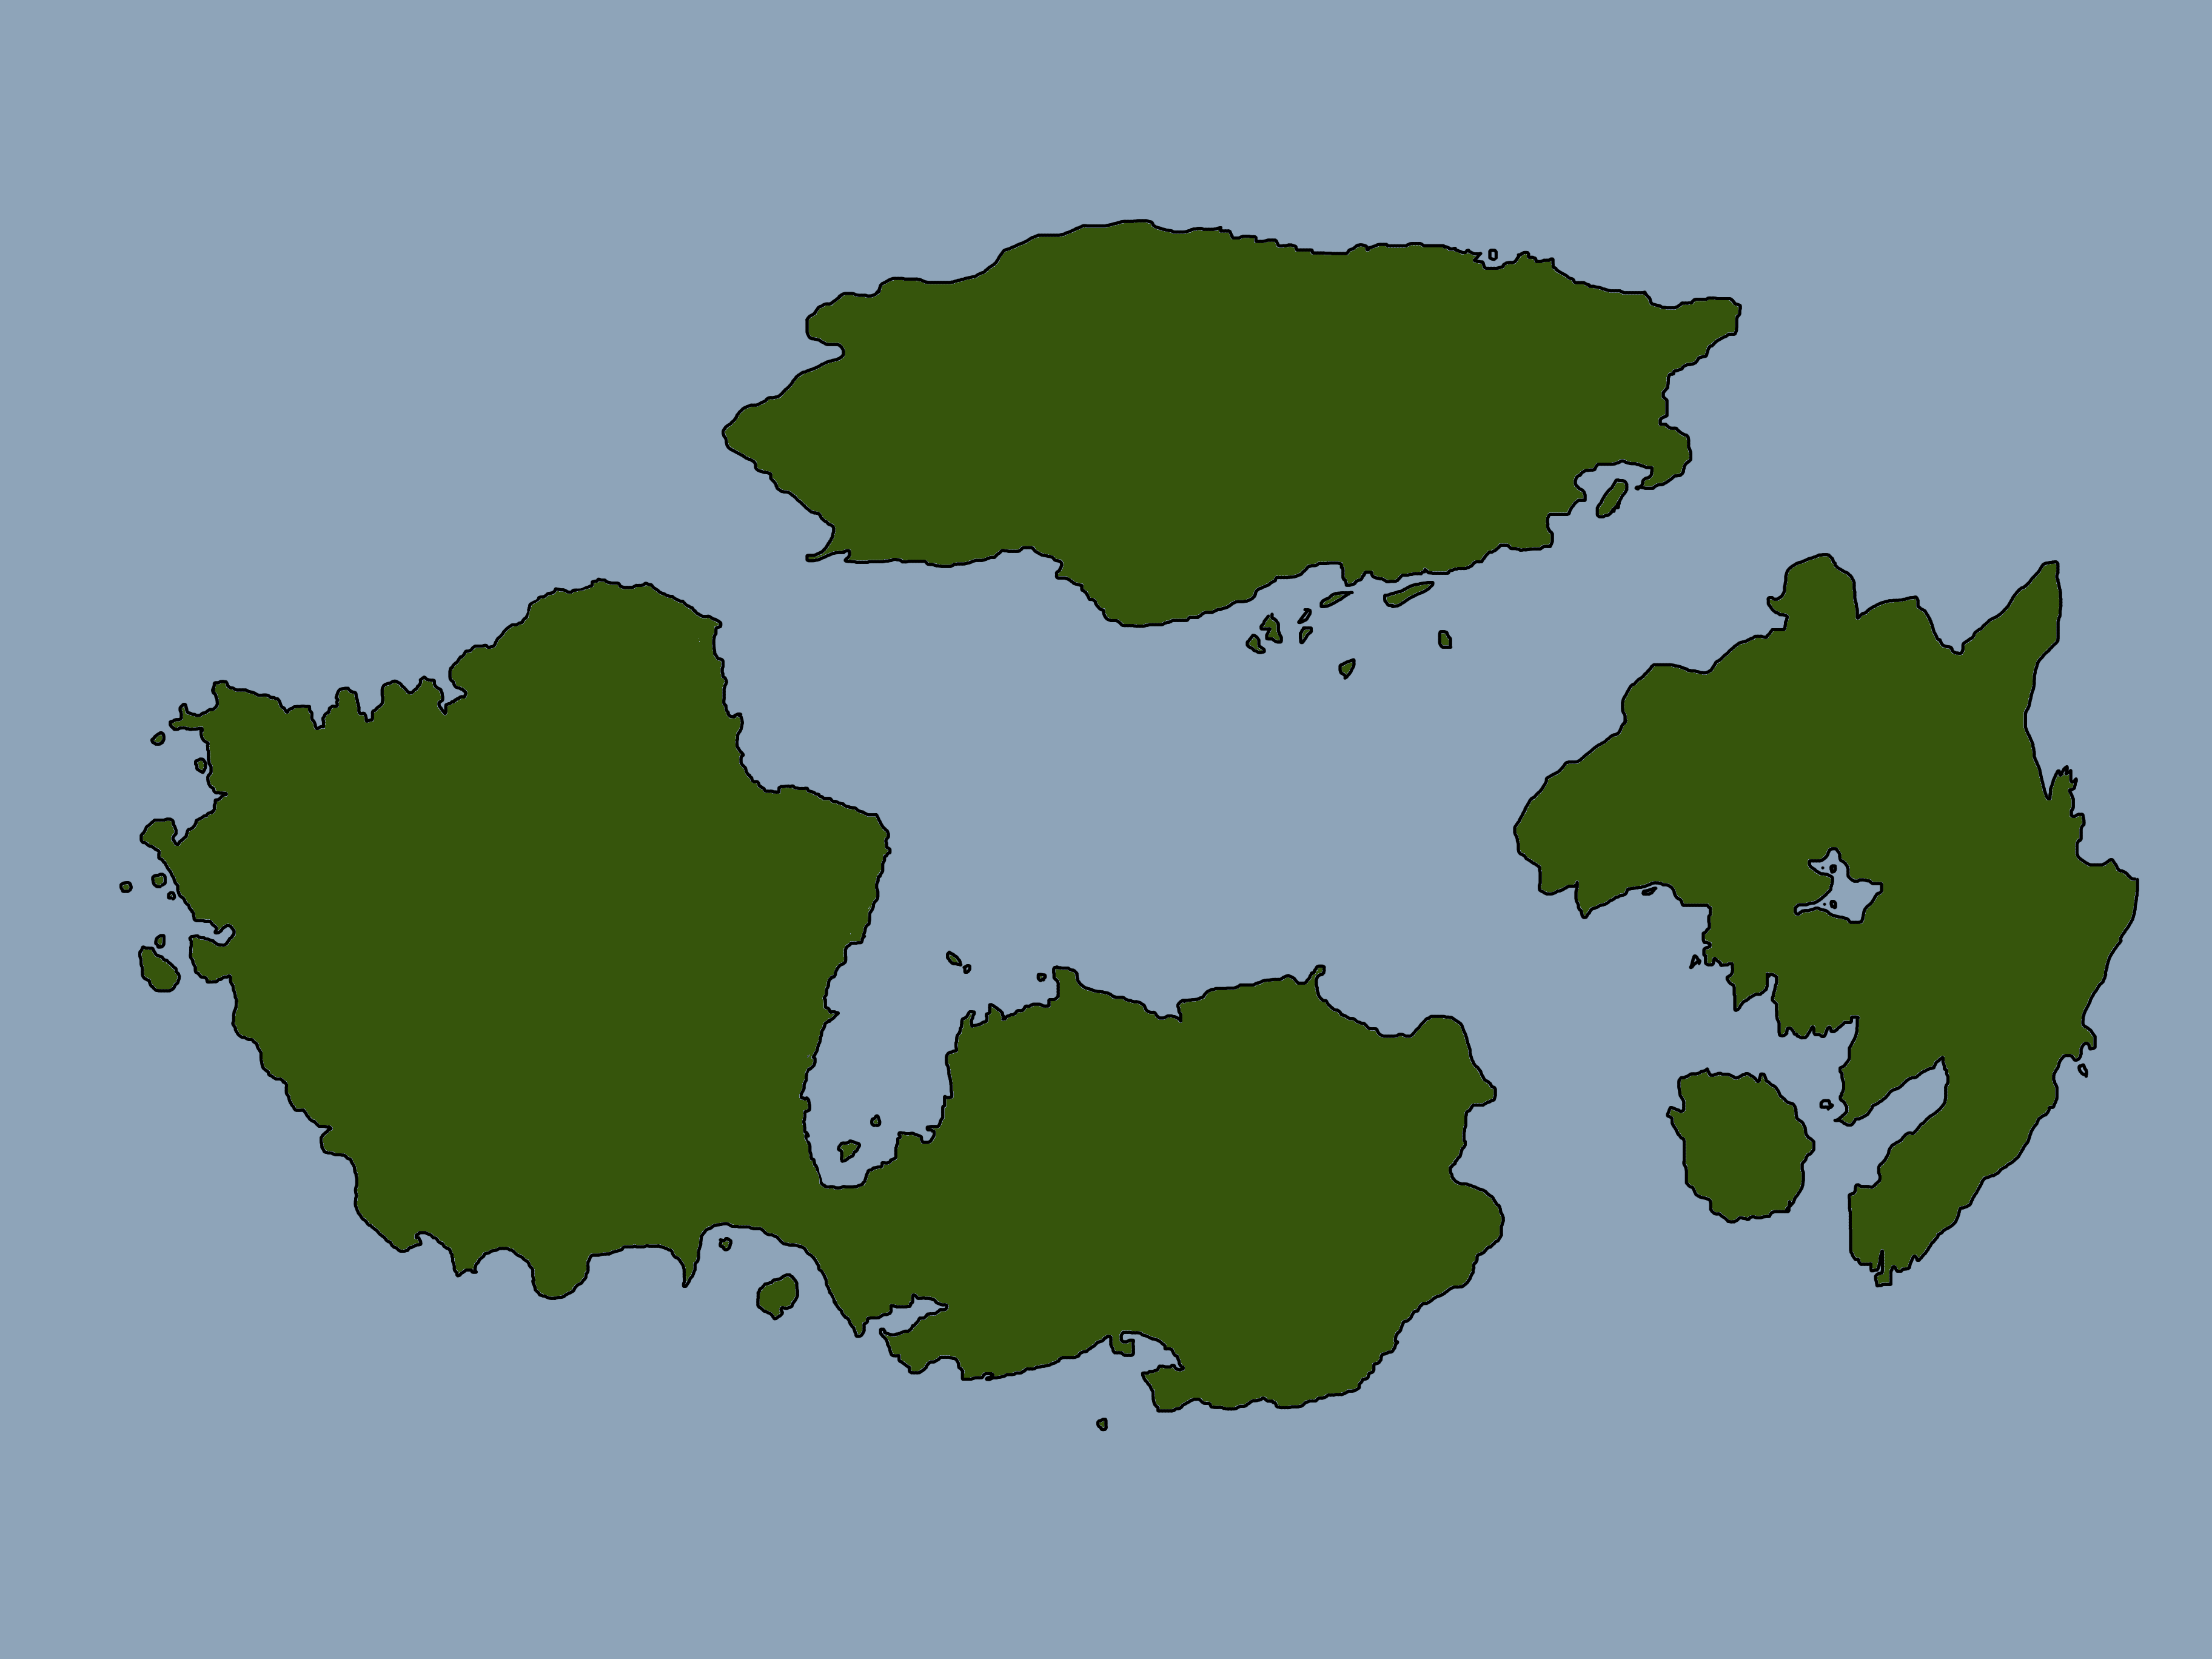
Welcome back to the second installment in my world building series. In the first article in this series, found here, we worked out the basic shapes of our continents and arranged them into a world map. While a good start, the world is still a flat green pancake without any geographical features at all. Today, we’re going to be looking at creating some mountain ranges for our world, as well as thinking about the various climate that you might find in each area of the world.
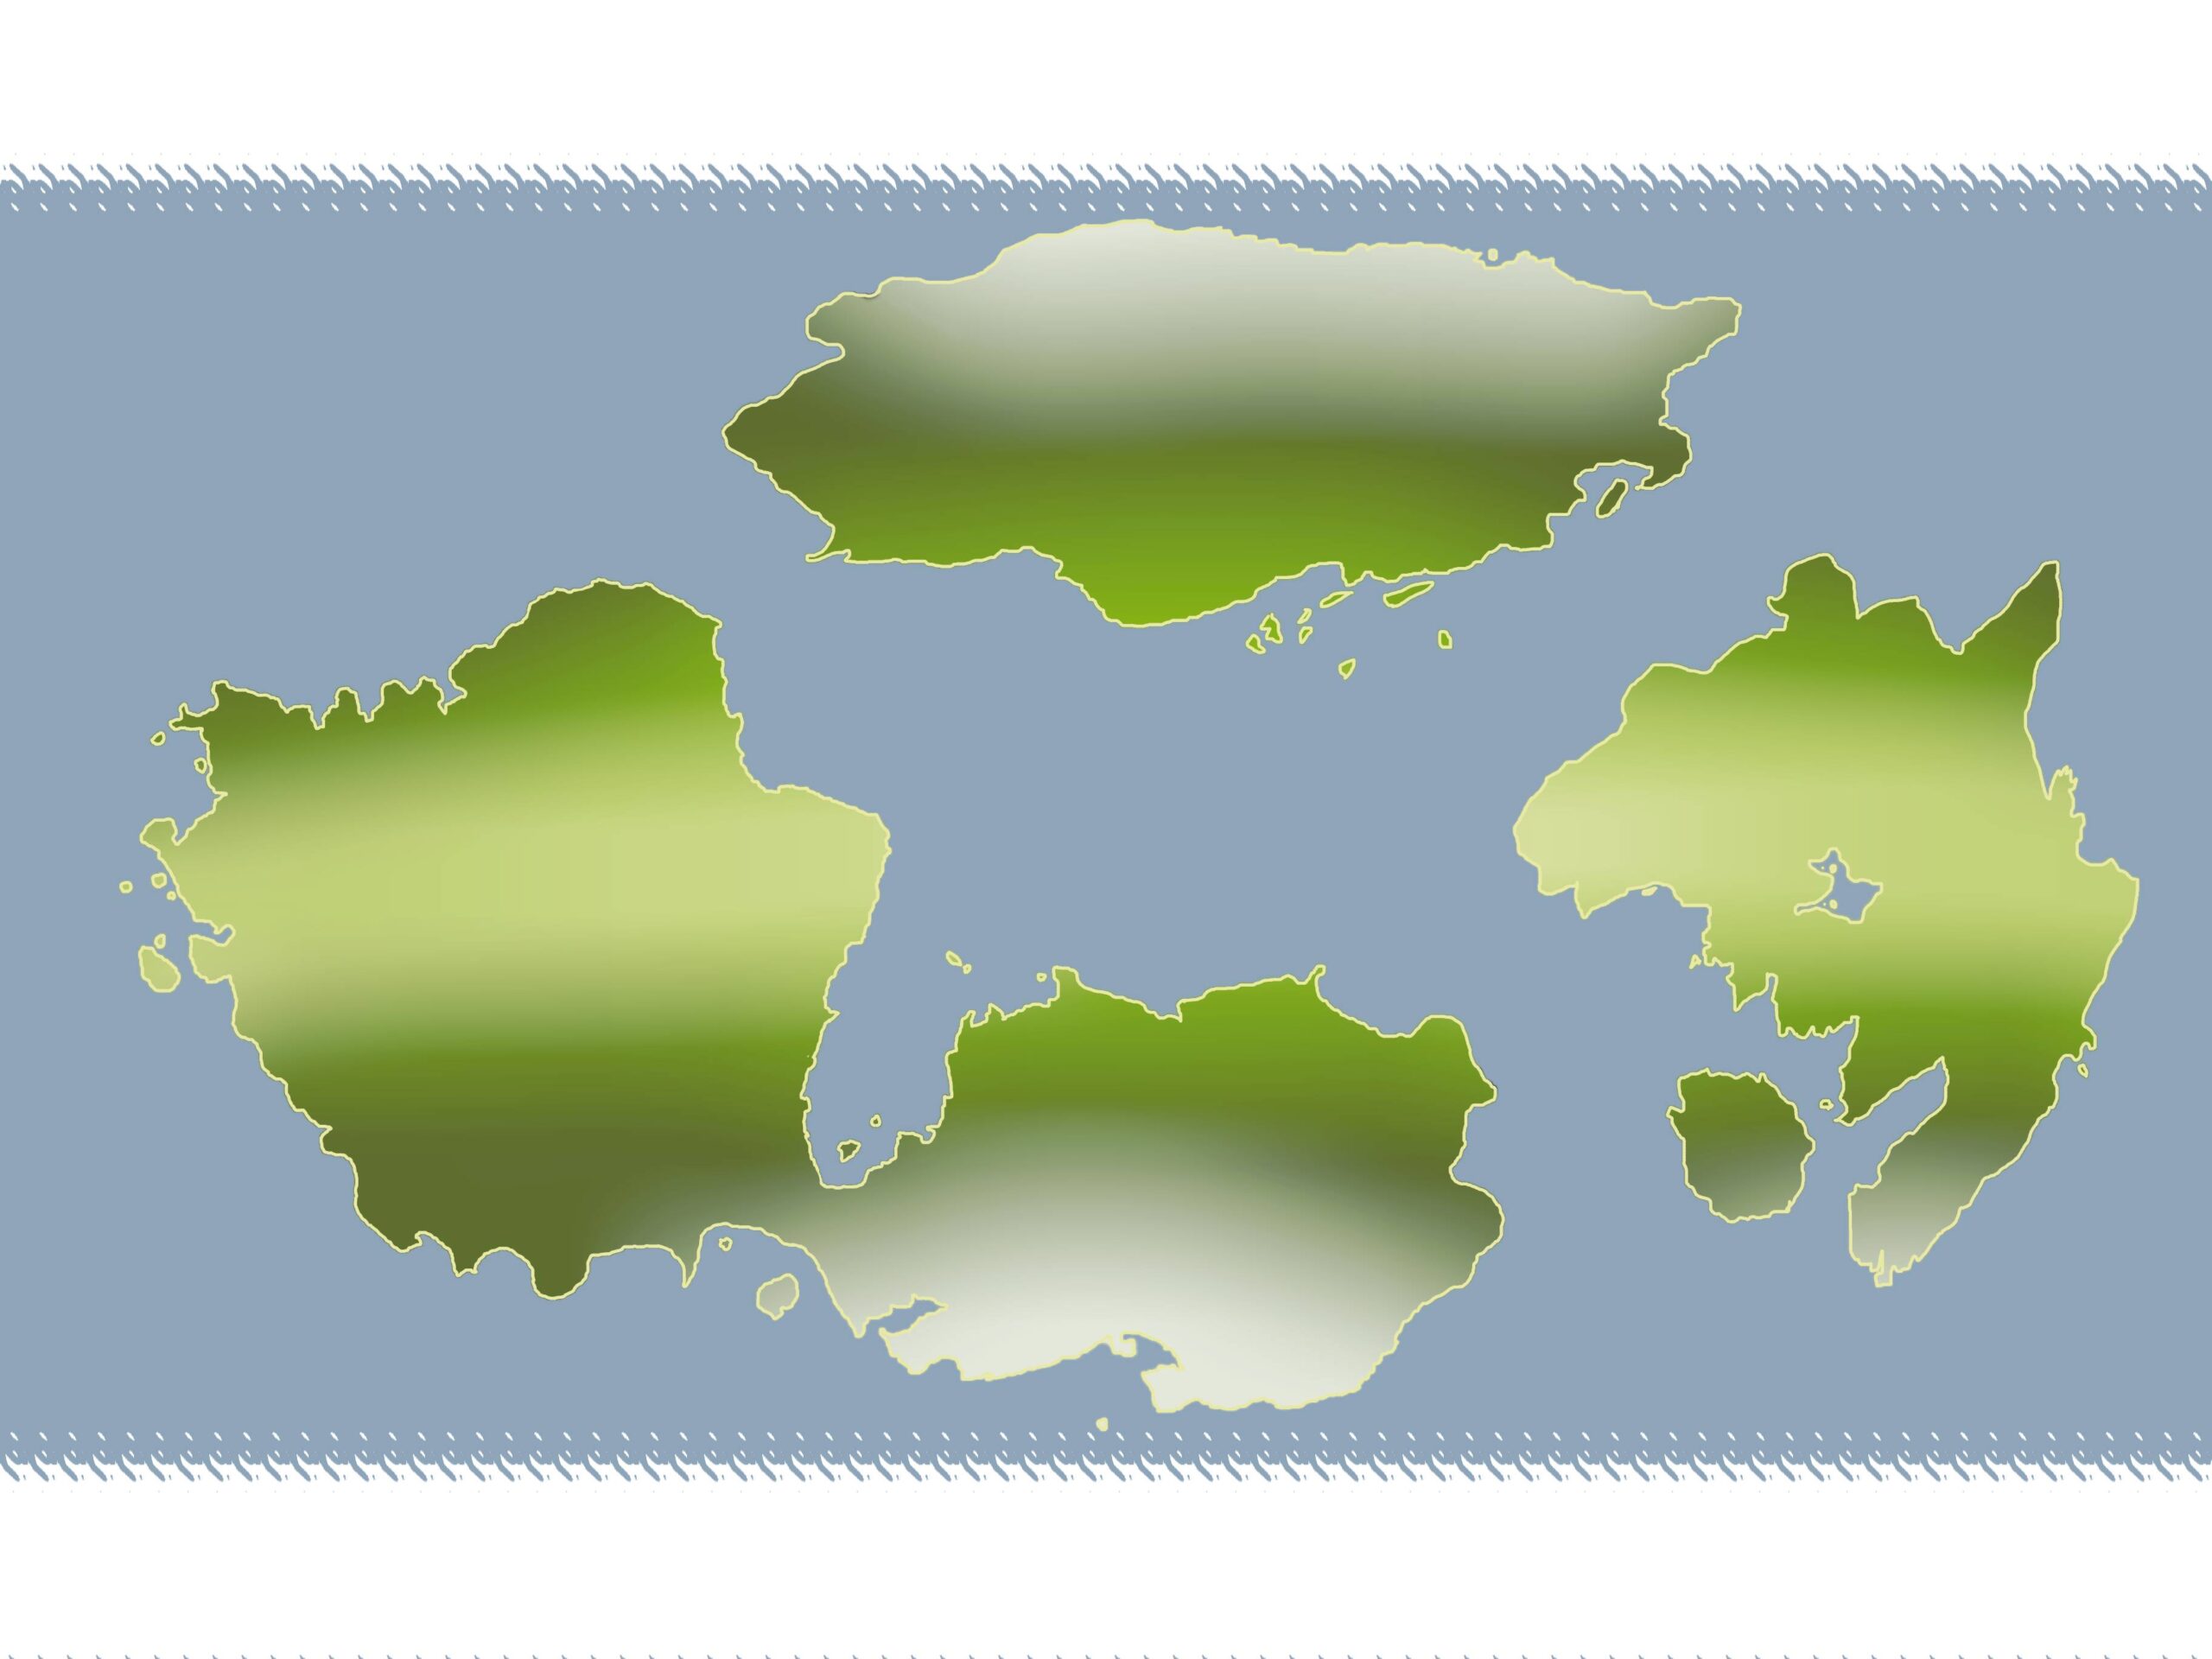
First off, we’re going to be adding in some colours to reflect the climate of our world. This is a very easy step, as its just editing the colours of the continents to show the different heat levels of each area. I’ve used white for the areas nearest the poles to show the abundance of ice and snow, a pale green near the equator to show a mix of savannah and tropics and a dark green in between the two to show temperate areas. I also added some temporary ice sheets at the poles for reference, and gave a yellow outline to the coasts to represent beaches.

When you have your colours blocked out, it’s time to blur the edges together. Don’t worry about blurring too much here, as it will look far more strange if these borders aren’t blurred enough. There should be a very gradual gradient from one colour to the next, so much so that there shouldn’t be any part of the blocked out colour that isn’t effected slightly. After its been blurred, tweak the colours to you liking and take a look at your new map. It’s worth noting that these colours don’t represent the ground colour in the region, but are just a heat map to help us create more features. The actual colours will be added in when we’ve got more geographical features in place, so we can have snow capped mountains and marshy swamps. Additionally, feel free to use whatever colours you want your world to be. If your sky is purple and the land candy-floss pink then here’s a chance to show it.
Now that we’ve got some basic colour, the first thing I did was make the colours temporarily invisible. For this next part, having a plain canvas makes the process far easier. One of the most significant features in our world is going to be the mountain ranges. They’re not only a necessity when thinking about rivers, but they can also be a very good natural border for countries when we reach that stage. The best trick I have learned for drawing mountains is perfectly explained by YouTuber WASD20 in this video. Essentially, the trick is to not draw individual mountains like triangles but rather to draw the mountain ridge with the slopes falling away from the sides. It is a very interesting method, and means that a shaky hand can be a benefit to making jagged peaks and interesting cliffs so it’s perfect for me.
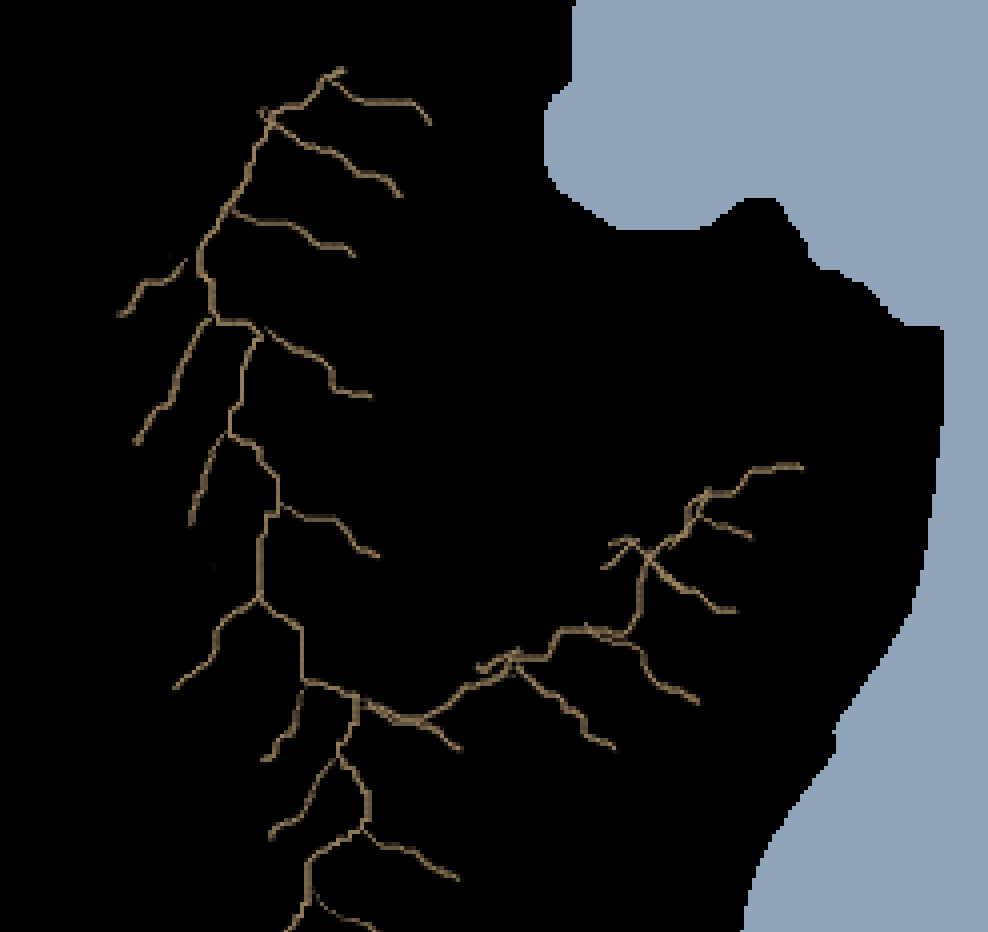
Working out where to place your mountain ranges can be difficult, but all I can suggest is drawing out some ridge lines and seeing what feels best to you. I decided to have five major mountain ranges spread across my world, for no other reason than it felt right to me. If your world only has a single mountain or is entirely mountainous, then it’s all the more unique. With this ridge line technique always remember that the longer the line you draw off the ridge, the higher the mountain will appear. You can use this to transition from foothills to towering peaks, all along the same line.
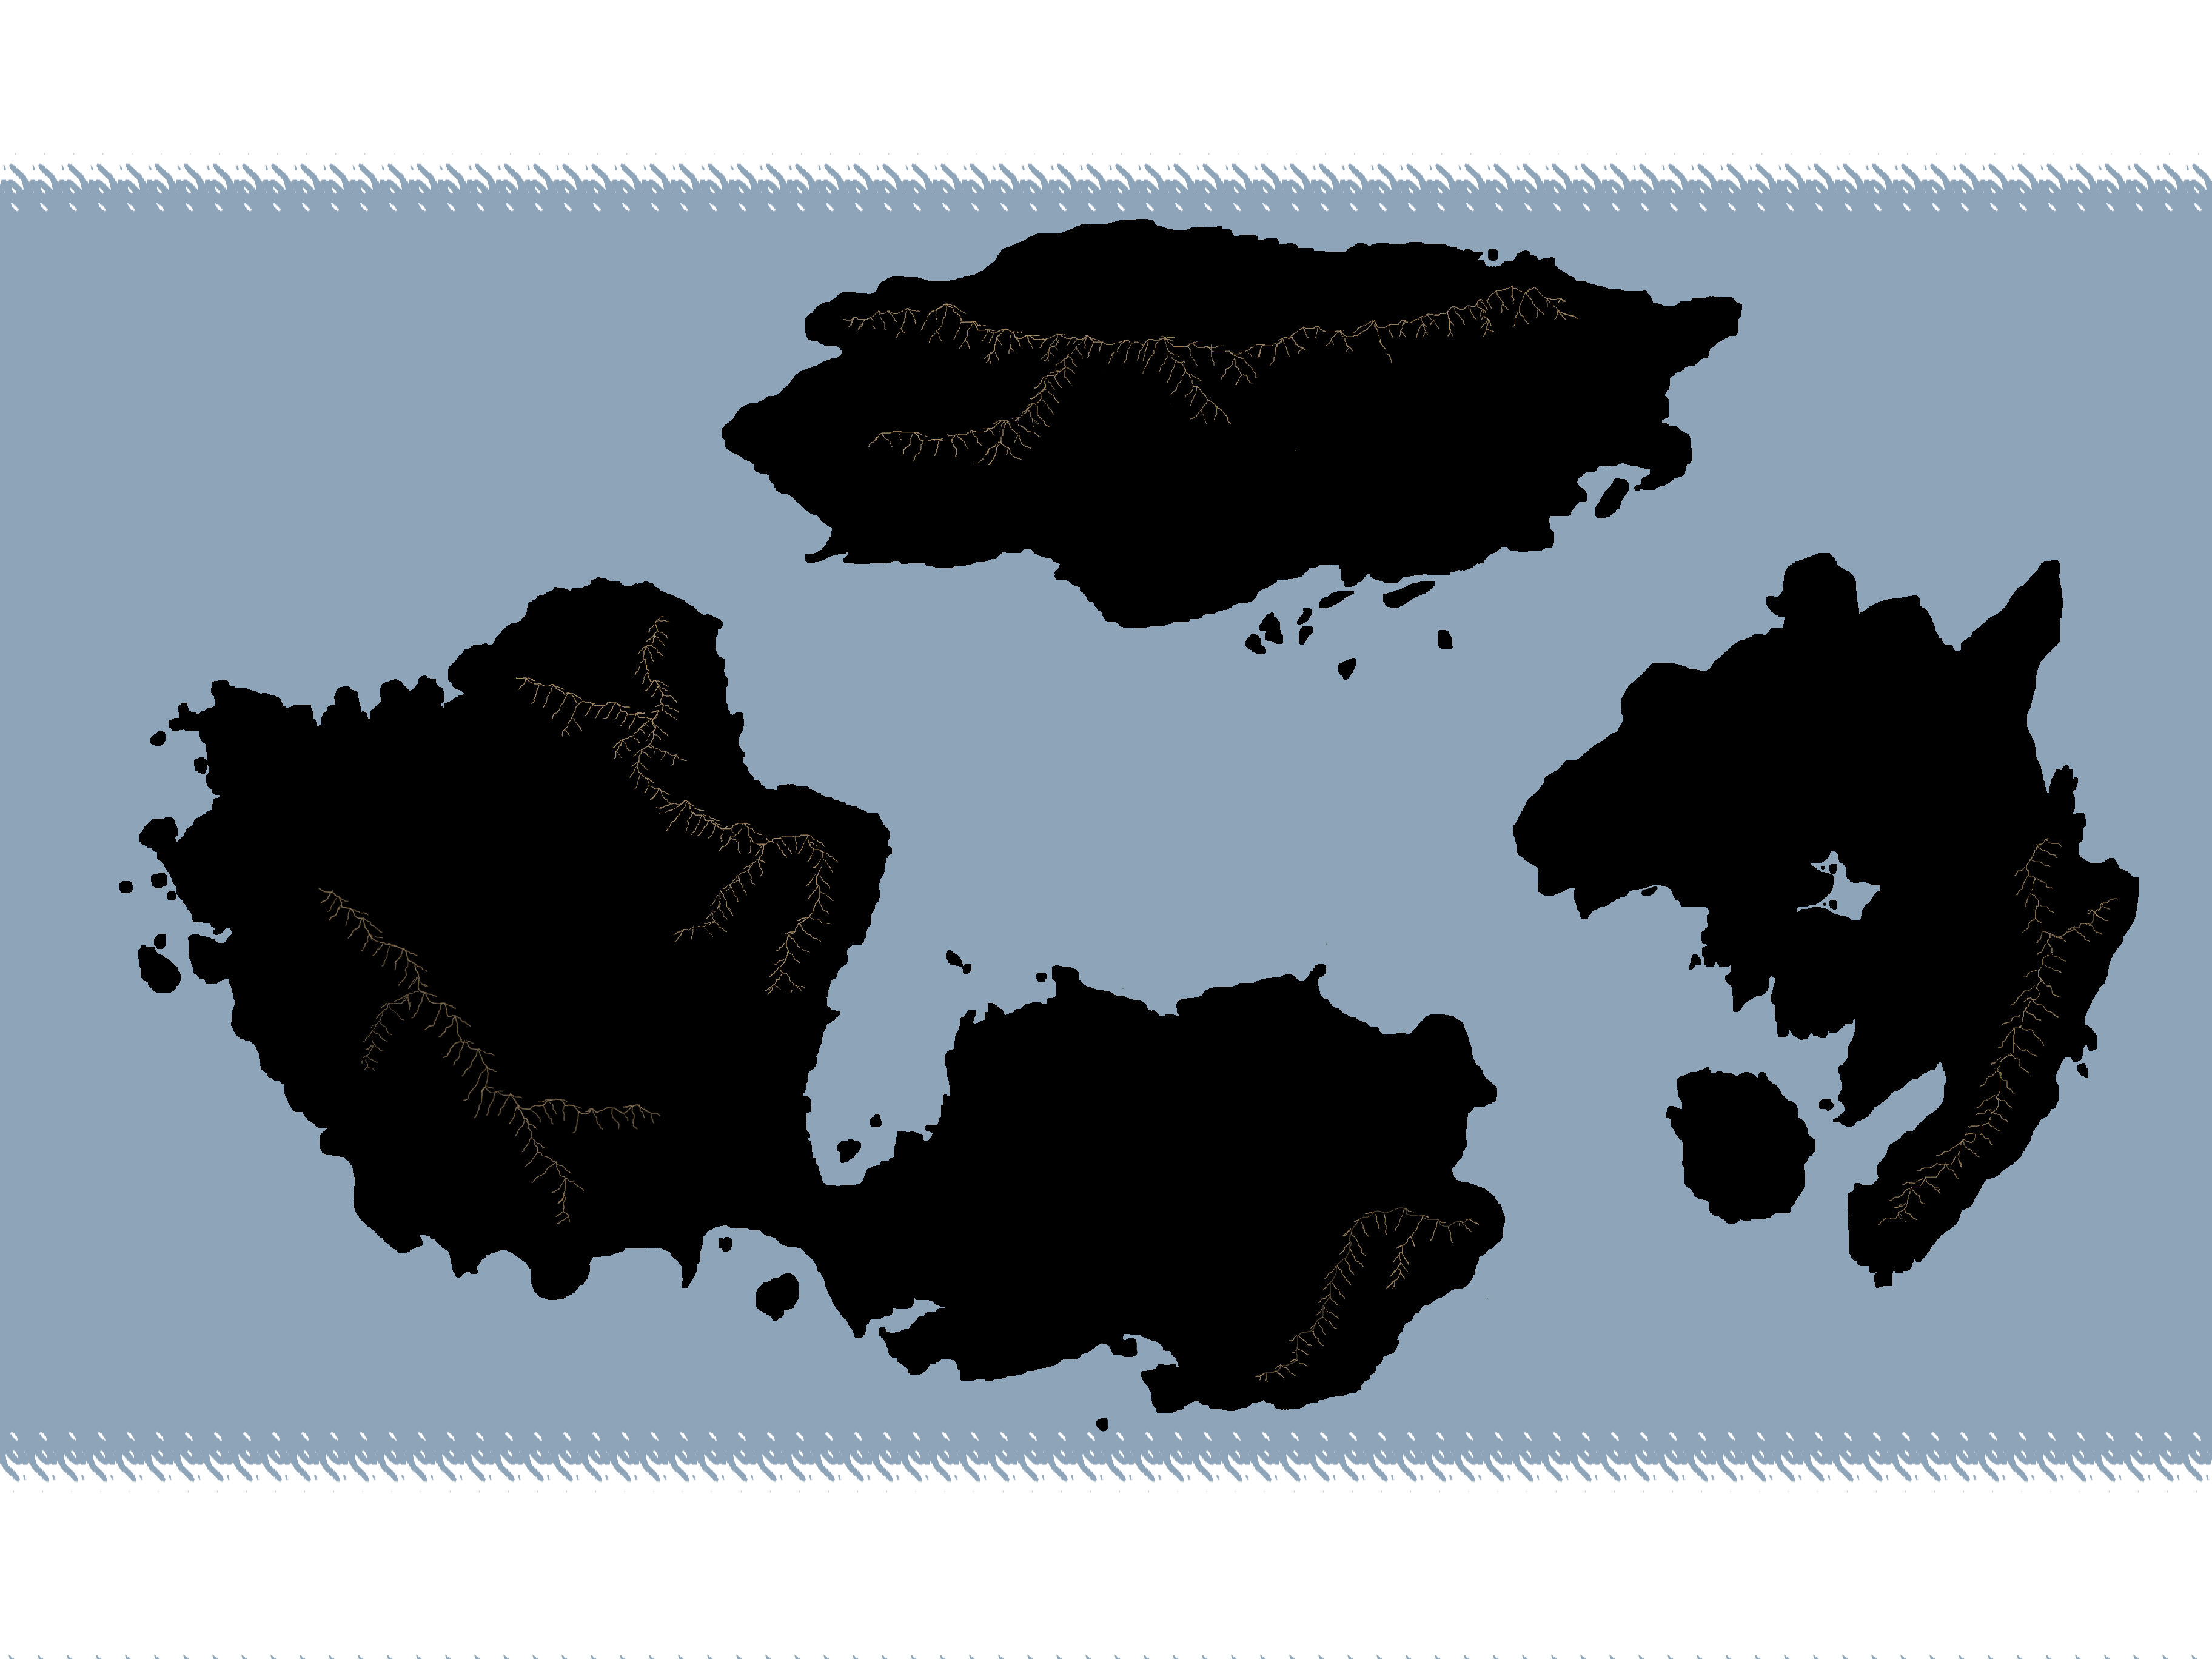
With the climate decided upon and our largest mountain ranges in place, that’s where we’re going to stop for this stage. Next time, we’ll be focussing on water. Rivers will flow from our new mountains into lakes and the ocean, and tiny chains of islands can crop up wherever we see fit. Thank you so much for following on with this series, and I look forward to seeing you in the next one!